Neighborhood
Sugamo / Komagome
Good when north-side daily life and commute both matter.
Good when north-side daily life and commute both matter.
Use this area to test your daily route, street mood, and where to widen next.
Practical north side
Good when groceries, clinics, daily stores, and trains matter more than trendy names.
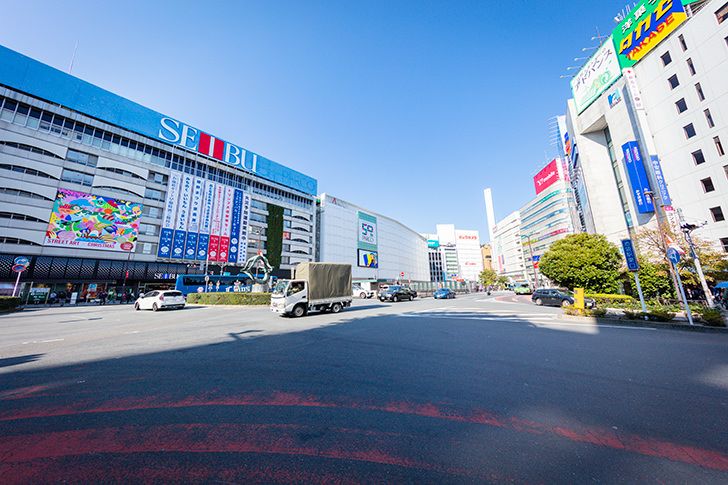
Calm with Yamanote access
Keeps movement simple while lowering the station-front energy compared with Ikebukuro.
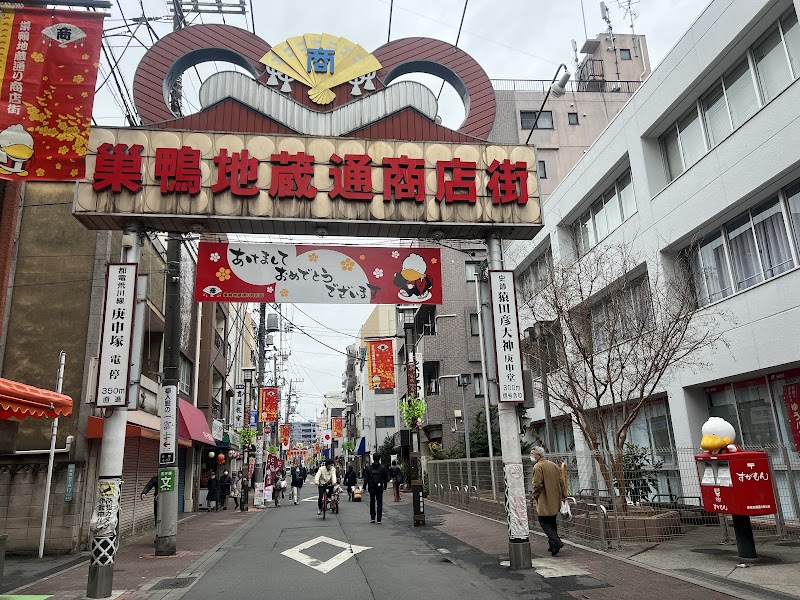
Check the old-street fit
The area is practical, but the street mood should match your lifestyle.
Compare next
Compare Bunkyo-side calm, Ikebukuro access, and northern Yamanote choices.
Check it on the map
Use the map to compare station walks, groceries, clinics, parks, and the route toward Ikebukuro or central Tokyo.
Station walk
The daily value depends on a comfortable route home.
Errands nearby
Check if groceries and clinics are easy, not only the train.
North-side comparison
Compare the mood with Otsuka, Komagome, and Bunkyo-side choices.
Check the route you repeat on weekdays before narrowing by station name.
This area works when errands are close and easy to repeat.
Check whether the north-side Yamanote route solves your commute.
Calm and practical can be good, but make sure it does not feel too quiet.
Compare Komagome, Sugamo, Otsuka, and Bunkyo-side stations before cutting needs.
Convenience, calm, and widening direction can change even inside the same ward.
Use this area as a comparison point, then open current rooms.
Choose practicality on purpose
Open rentals here when groceries, clinics, and simple train access matter more than a famous lifestyle name.
Check the street mood
The area is useful, but the calm north-side mood should fit your daily life.
Compare before cutting needs
Compare Otsuka, Komagome, Bunkyo-side stations, and Ikebukuro access before dropping room needs.
Open rentals with the ward kept broad. Narrow by station only after you see how many choices remain.